
How to Create a Re-Usable Art Bag
In the past I have come across some companies who do produce bubble wrap sleeves to protect your artwork while traveling. They tend to produce stock stand sizes, some are sewn and some are heat sealed edges. So if this suits you then it could be an option. As I tend not to produce stock standard sizes all the time, I have created my own sleeves, and these have evolved over time.
I did have a use of an old heat bag sealer once and it worked extremely well, however it was limited to the size of bag I could make. In researching heat-sealing machines, I did come across a handheld device, which would have been great. Except the price tag was a little too much $****.**.
So, the below example is something that I just do for myself, with products that are easily purchased. Having sleeves I have found over the last couple of years, I am not wasting bubble wrap that is torn from unwrapping and when collecting artwork at the end of an exhibition, it is easier just to slip them into the sleeves.
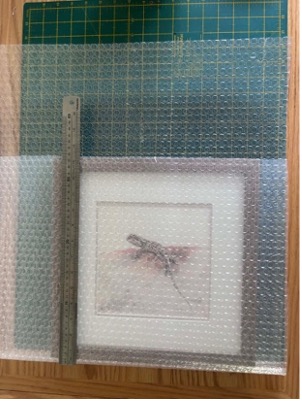
- Measure your finished artwork. You want your artwork to fit snuggly into the bag. If you are not sure about how much to leave place your artwork on the bubble wrap to gauge a better idea of measurements required.
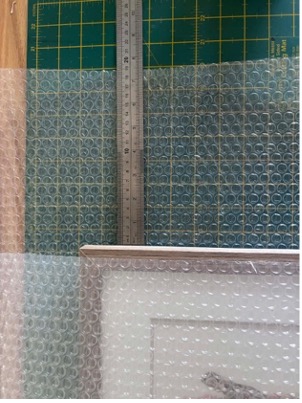
- Example finished work was 33cm x 33cm. cut piece 44 cm x 55cm. Slip 10cm x 55cm.
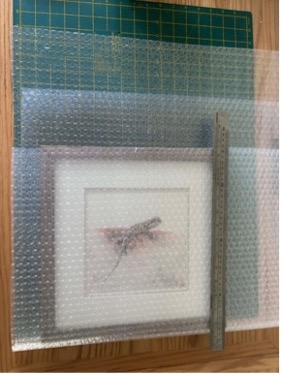
- Cut a Slip piece of bubble wrap 10cm x 55cm.
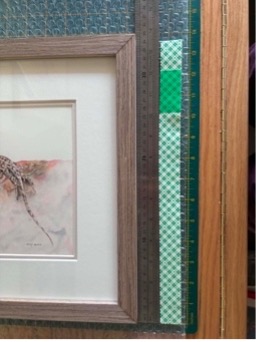
- Allowing for the tab to fold over your artwork, Cut two pieces of double-sided tape to the height of the art work. I placed a strip of double-sided tape to one edge, having a steel metal ruler width for room to easily move work in and out. Repeat for the other side.
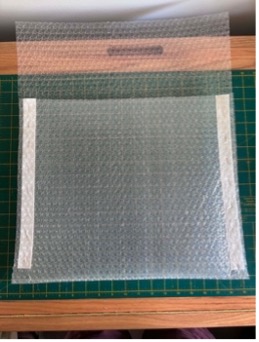
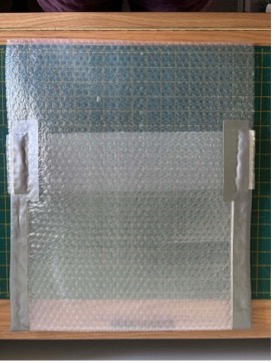
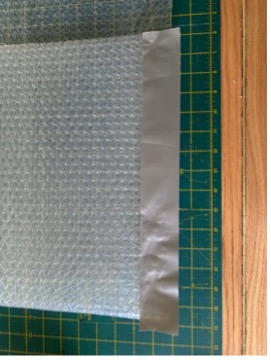
- Place the slip tab onto the top of the bag and duck tape the edges together. Once again, you can also tape the bottom of the bag, depending on the weight of the artwork.
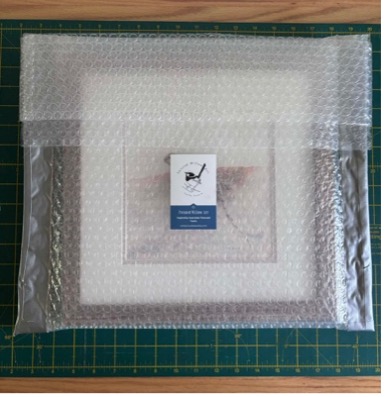
- Create a clear slip on the front of the sleeve and place your business card and artwork details inside.
By Cathy Howie